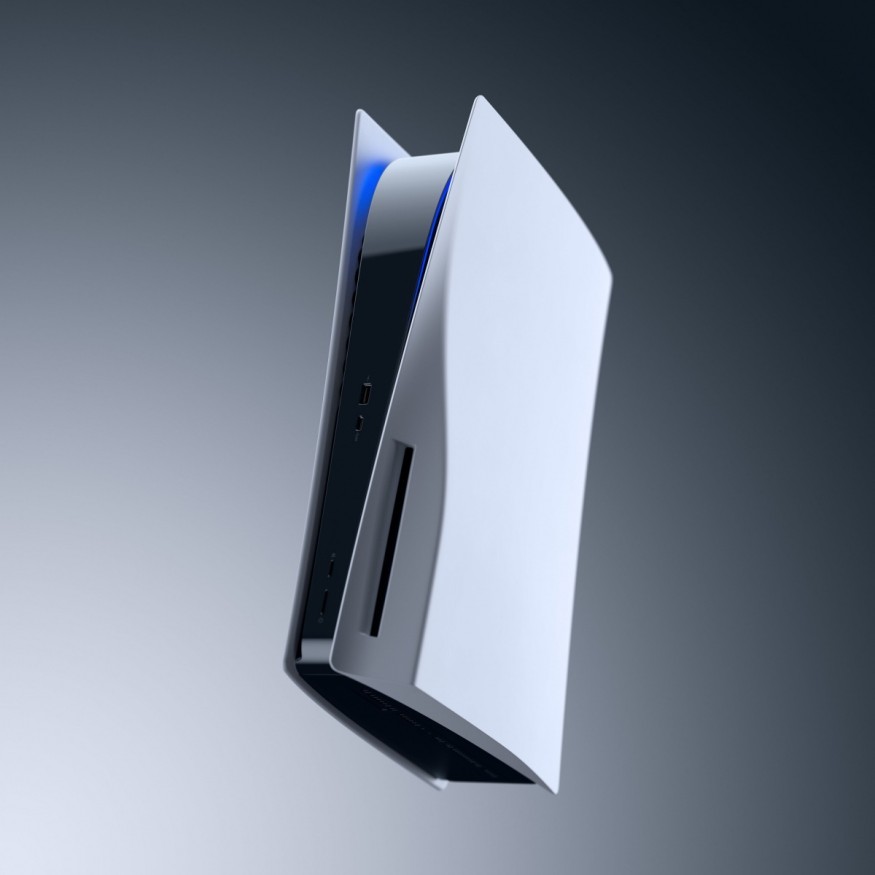
Sony revealed that the video game company will roll out a beta software update to the PlayStation 5, particularly focusing on its storage expansion feature. The said video game console can now be installed with an M.2 SSD card to expand its storage capacity.
The said storage update for the PlayStation 5, according to Bloomberg, was made to lift up the limitations to its players of having more games inside the console.
How Does this Update Work
Before said updates, players need to have an external USB SSDs to save their games in their PlayStation 5 consoles. However, according to XDA, this method has its limitations, including the fact that players will not play the games through the said external USB SSD, especially if those games are from PlayStation 4.
A PlayStation 5 unit comes with an 825GB of internal SSD, but it can have a total of 667GB of internal memory space to store games (including save states and other game data), apps, and media.
READ ALSO: Walmart Restocks PS5 with Free Upgrade: Where and When to Buy
With this software update, users of the said console can now expand their internal storage because the secondary slot for said memory is unlocked, while they can download, play, and update games directly to an installed M.2 SSD.
However, this upgrade has several pre-requisites or requirements. According to Kotaku, users can choose between 250GB and 4TB of storage to use. The said SSD should have at least 5.5GB per second read speed, and has the "PCIe Gen4 x4 M.2 NVMe SSD" interface.
The said module should have these following dimensions - a length of either 30mm, 42mm, 60mm, 80mm, or 110mm, and a width of 22mm.
Users must also provide an heatsink in case of their SSDs did not have on that is installed in it.
According to the PlayStation website, considering that this is a beta test, users need to know that several specs will might change ahead of the official system software release.
How to Install
According to the instructions in the PlayStation website, you need a #1 Phillips or cross-head screwdriver and a flashlight, if needed. Before proceeding with the installing, you need to touch a metal-grounded object to remove any static electricity from your body.
Before installing the M.2 SSD in a console, you need to update the system software. To check if the beta system version is installed in your PlayStation 5, you must go to Settings, then to System, then System Software, then go to the Console Information.
Once finished checking, you must press and hold the power button for three seconds to turn off your PlayStation 5 console, then remove any cables and devices from it. You must wait for the console to cool down for a while.
Then, place the console on a soft cloth on flat surface, the remove the base. Position the console so that the screw hole for the base is facing you, the PlayStation logo is facedown and the Power button is on your left side.
Then, place your palms near the top corners and grip the edge of the cover. Gently pull the cover up and towards yourself. You will hear click from there, then the cover lifts away. There is a long rectangular cover over the expansion slot, which is secured with one screw at the top.
Remove said screw from the expansion slot cover, then remove the cover. After that, remove another screw and its spacer then adjust the spacer to the size of your M.2 SSD.
Hold the edge of the memory expansion card, align it with the noth on the expansion connector, and then starting from diagonally upward, firmly insert it all the way in.
Next, tilt your M.2 SSD down and fasten it with the screws, then attach the expansion slot cover and fasten the screw. Replace the cover by positioning it slightly away from the top edge and sliding it back to the place. When you hear a click, it means that the cover is secured.
Then connect the cables, including the AC power cord, as well as the base. Then, turn on the power of the console to start the formatting process. Then, follow the on-screen instructions and format your M.2 SSD.
READ ALSO: FFXIV 5.55 Relic Weapons Guide: How to Upgrade Into Resistance Weapons


