The Season of the Lost have arrived at Destiny 2 as the shooting game brings in a new season in preparation for their incoming The Witch Queen Expansion Set.
The said season will bring in a new quest line called "Tracing the Stars," where players will be given several weeks to complete its multiple stages. Once completed, the said quest line will give them rewards, including new exotics for them to use in the future games.
Time to Trace the Stars
Before players begin the Tracing the Stars questline, according to Report Door, they must first complete the opening missions for Season of the Lost and unlock the HELM. Once unlocked, they need to go there and interact with the Compass that is located in the Awoken wing.
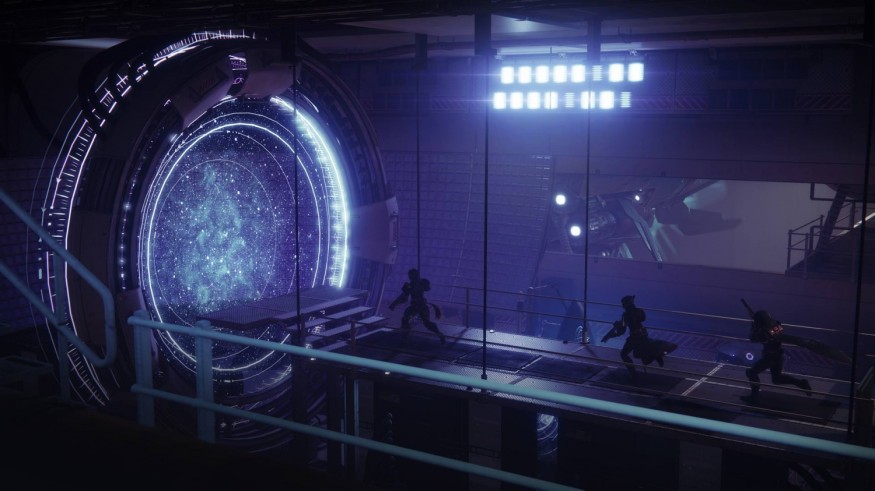
Two lost Queens reemerge.
— Destiny 2 (@DestinyTheGame) August 24, 2021
Mara Sov seeks an audience with Savathûn in Season of the Lost.
💠 https://t.co/MSCRvMLb8i pic.twitter.com/RMpkXw0Ttv
They will pick up the Tracing the Stars 1 from there. Afterwards, they will walk through the portal that will take them to the Dreaming City. Once they are in the location, they need to find Mara Sov. Once they found her, they will talk to Sov, asking them to collect five Atlas Skews.
READ ALSO: Destiny 2 Season 15 Character Changes Guide: What Abilities, PVP, Gameplay Mechanics Will be Tweaked
The Atlas Skews, according to PC Invasion, are white, elongated structures, with a silver circular object in the middle, that was used to help triangulate the location of the Techeun, a Tech Witch lieutenant of Sov. Once they accepted it, they will start the said quest, venture around the Dreaming City to look for the skews.
Atlas Skew Locations
The first Atlas Skew location, according to Dual Shockers, is located at the Drowned Bay Alcove. To go there, players need to simply go inside the Bay of Drowned Wishes lost sector while patrolling. From there, they will fight the Scorn that was spawning there.
After defeating it, they will need to keep to the right until they will see the rocky path going upward. From there, they will see the first Atlas Skew, which is marked at the mini map by a white diamond marker.
The next Atlas Skew location is in the Divalian-Cimmerian Path. Players would see the central cave that is in the said pathway. They will enter it in order to go to the Blind Well.
Instead of climbing the cliff that will lead them to the heart of the Dreaming City, they will go down and enter a small cave that is near the stairs. The second Atlas Skew is located at the back of the said cave. Once they retrieved the skew, they will walk back into the Divalian Mists.
From there, there will go to the Divalian-Rheasila Path, where they look for the third Atlas Skew. Once they are in the said pathway, instead of reaching towards the caves, they will need to look down to the cliffside to their left. They will see the skew from there.
The fourth location is in the Spine Oracle Orrery. To reach there, players need to make their way towards the Spine of Keres. From there, they will head inside a large building called the Oracle.
Players will walk up the stairs inside of it until they will reach its top, where the fourth Atlas Skew was located.
The fifth and final Atlas Skew location is in the Distant Spine Island Tree. Players must exit the Oracle building and follow the looping pathway and bridges. From there, they will eventually see small outcroppings of land.
They will travel the said island until they saw a tree. From there, the final Atlas Skew will be seen.
Once the players obtained the final skew, they will go to the HELM, and launch the "A Hollow Coronation" mission. Once they accepted it, they will eventually spawn in front of a gateway. They will through it to arrive at the Caliburn Gatehouse. From there, they will interact to the leftmost device to complete the task.
Afterwards, they will need to return to Sov, where she would talk to them. Once it is finished, they will dump the Atlas Skews in the Atlas Terminal on their left. Afterwards, they will return to HELM, then interact with the Compass in order to receive the reward - the Vulpecula exotic hand cannon.
This hand cannon, according to PC Invasion, has the Stasis element, as well as the "Shoot to Loot" and "Harmony" Perks.
READ ALSO: 'Destiny 2' Season 15 Weapons, Armor Changes Guide: Primary Ammunitions Get Infinite + Other Tweaks


